Tutorial ini menggunakan certificate ssl buatan sendiri
Bikin certificate
sudo openssl req -new > new.cert.csr
Hasil:
Generating a RSA private key
........+++++
........................................................................................+++++
writing new private key to 'privkey.pem'
Enter PEM pass phrase:                          (bikin password)
Verifying - Enter PEM pass phrase:              (ulangi password)
-----
You are about to be asked to enter information that will be incorporated
into your certificate request.
What you are about to enter is what is called a Distinguished Name or a DN.
There are quite a few fields but you can leave some blank
For some fields there will be a default value,
If you enter '.', the field will be left blank.
-----
Country Name (2 letter code) [AU]:ID             (masukkan kode negara)
State or Province Name (full name) [Some-State]:Central Java    (provinsi Anda)
Locality Name (eg, city) []:Cilacap                 (kabupaten)
Organization Name (eg, company) [Internet Widgits Pty Ltd]:openSUSE webserver   (tempat kerja Anda)
Organizational Unit Name (eg, section) []:Admin Server      (jabatan Anda)
Common Name (e.g. server FQDN or YOUR name) []:malik.net.id     (nama web Anda)
Email Address []:malik@malik.net.id     (email Anda)

Please enter the following 'extra' attributes
to be sent with your certificate request
A challenge password []:        (klik enter)
An optional company name []:    (klik enter)
Bikin key
sudo openssl rsa -in privkey.pem -out new.cert.key
Hasil
Enter pass phrase for privkey.pem:  (masukkan password certificate)
writing RSA key
Set masa aktif
sudo openssl x509 -in new.cert.csr -out new.cert.cert -req \
-signkey new.cert.key -days 365
Hasil
Signature ok
subject=C = ID, ST = Central Java, L = Cilacap, O = openSUSE webserver, OU = Admin Server, CN = malik.net.id, emailAddress = malik@malik.net.id
Getting Private key
Salin
sudo cp new.cert.cert /etc/apache2/ssl.crt/server.crt
sudo cp new.cert.key /etc/apache2/ssl.key/server.key
Cara pakai
Bikin config
cd /etc/apache2/vhosts.d/
cp vhost-ssl.template malik-ssl.conf
Edit config
<VirtualHost _default_:443>

        #  General setup for the virtual host
        DocumentRoot "/srv/www/htdocs"
        #ServerName www.example.com:443
        ServerAdmin malik@malik.net.id
        ErrorLog /var/log/apache2/error_log
        TransferLog /var/log/apache2/access_log

        #   SSL Engine Switch:
        #   Enable/Disable SSL for this virtual host.
        SSLEngine on

        #   OCSP Stapling:
        #   Enable/Disable OCSP for this virtual host.
        SSLUseStapling  on

        #   You can use per vhost certificates if SNI is supported.
        SSLCertificateFile /etc/apache2/ssl.crt/server.crt
        SSLCertificateKeyFile /etc/apache2/ssl.key/server.key
        #SSLCertificateChainFile /etc/apache2/ssl.crt/vhost-example-chain.crt

        #   Per-Server Logging:
        #   The home of a custom SSL log file. Use this when you want a
        #   compact non-error SSL logfile on a virtual host basis.
        CustomLog /var/log/apache2/ssl_request_log   ssl_combined

</VirtualHost>

</IfDefine>
</IfDefine>
Restart webserver
systemctl restart apache2
Buka browser
https://malik.net.id
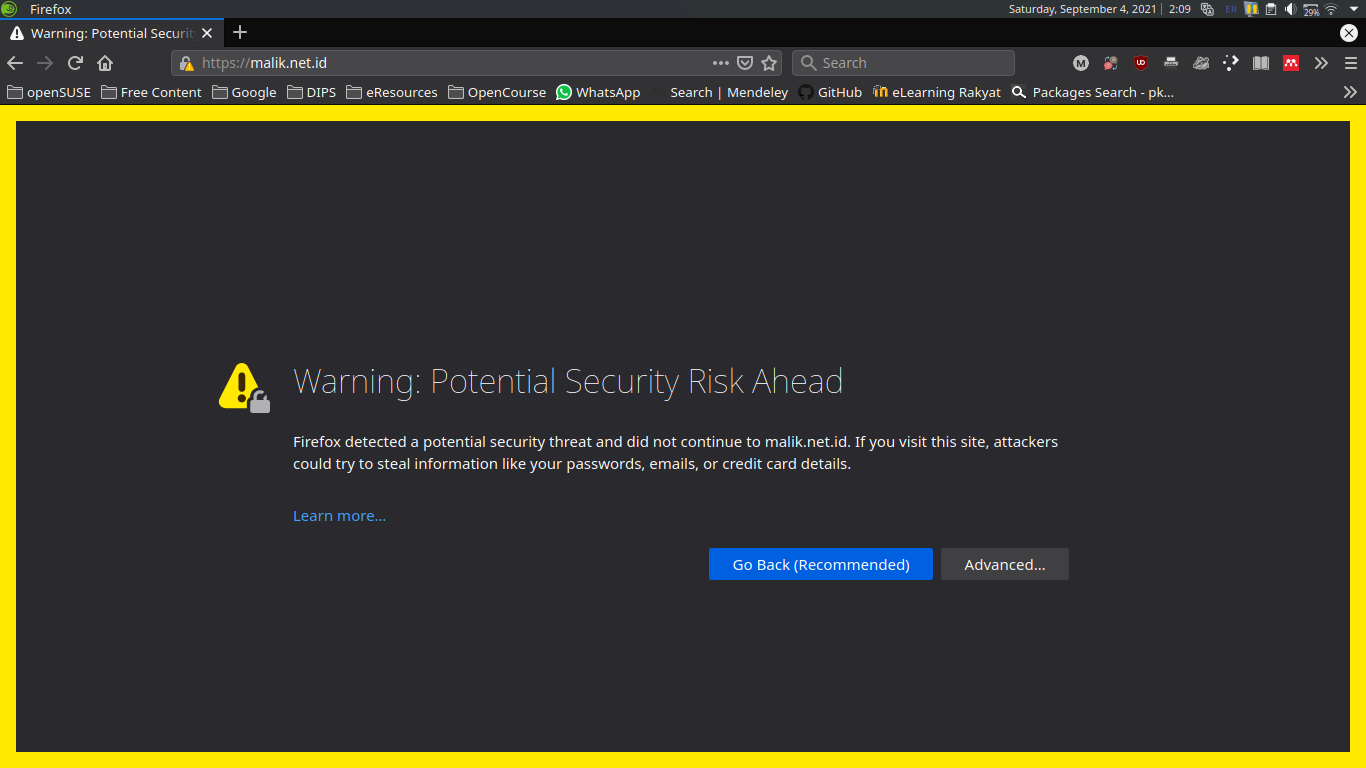
Klik Advanced... dan klik Accept Risk and Continue
Jika Menggunakan chrome
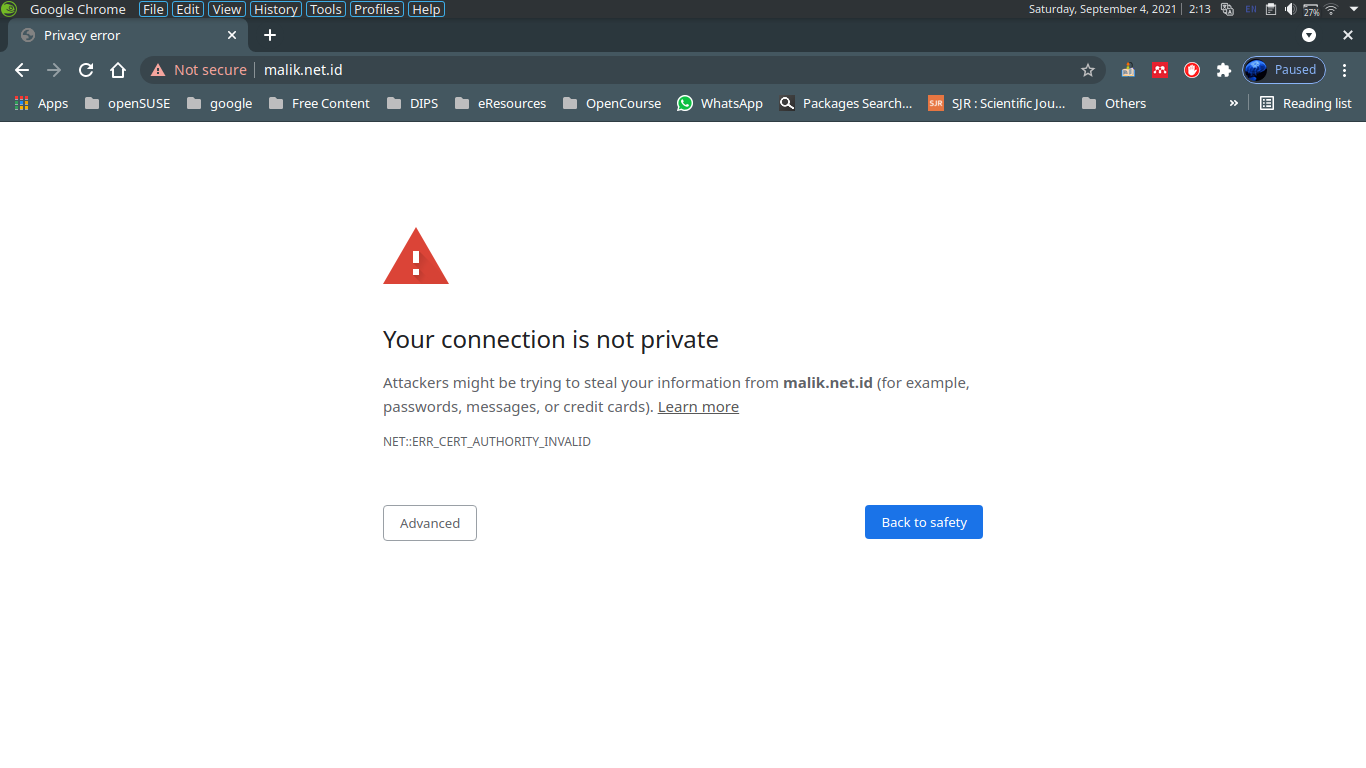
Klik Advanced dan klik Proceed to malik.net.id (unsafe)