Linux sangat mudah sekali untuk menjadi webserver karena installasi dan konfigurasi yang dapat dibilang cukup mudah. Package yang dibutuhkan untuk menjadi webserver biasa disingkat LAMP (Linux Apache MariaDB PHP). Apache untuk menampilkan halaman website, MariaDB untuk database, dan php untuk administrasinya. Beritut akan di demokan cara membangun webserver di linux openSUSE
Installasi LAMP
Di openSUSE sudah disediakan Package-Package yang dibutukan dan sudah secara khusus di grupkan di yast dengan nama LAMP server.
Jadi untuk menginstall LAMP di openSUSE sangat mudah sekali.
- Buka
yast - Pilih
software management - Pilih
pattern - Centang
WEB & LAMP Server - Search kemudian centang
yast2-http-server - Search dan centang
PHPphpmyadmin - Klik tombol
Accept
Konfigurasi Apache
- Buka terminal
- Cek ip addres
ifconfig - Jalankan Apache
sudo systemctl start apache2 - Cek statusnya pastikan
Activesudo systemctl status apache2 - Buka browser
- Masukkan ip addres Anda
-
Hasilnya

- Untuk menghentikan
sudo systemctl stop apache2
Secara default file konfigurasi apache2 terdapat di
/etc/apache2/default-server.conf
Secara default file-file konfigurasi seperti file index.html yang akan ditampilkan menjadi halaman website berada di
/srv/www/htdocs
Atau bisa juga melihat konfigurasi apache2 lewat yast dengan cara:
- Buka
yast - Pilih HTTP Server
- Anda bisa melihat dan mengedit konfigurasinya di
Main Host
Konfigurasi MariaDB
MariaDB sudah otomatis terinstall ketika kita sudah menginstall package WEB & LAMP server melalui yast.
- Jalankan mariaDB
sudo systemctl start mysql - Pastikan statusnya
sudo systemctl status mysql - Konfigurasi
sudo mysql_secure_installation -
Cara Konfirmasi
NOTE: RUNNING ALL PARTS OF THIS SCRIPT IS RECOMMENDED FOR ALL MariaDB SERVERS IN PRODUCTION USE! PLEASE READ EACH STEP CAREFULLY! In order to log into MariaDB to secure it, we'll need the current password for the root user. If you've just installed MariaDB, and haven't set the root password yet, you should just press enter here. Enter current password for root (enter for none): OK, successfully used password, moving on... Setting the root password or using the unix_socket ensures that nobody can log into the MariaDB root user without the proper authorisation. You already have your root account protected, so you can safely answer 'n'. Switch to unix_socket authentication [Y/n] n ... skipping. You already have your root account protected, so you can safely answer 'n'. Change the root password? [Y/n] n ... skipping. By default, a MariaDB installation has an anonymous user, allowing anyone to log into MariaDB without having to have a user account created for them. This is intended only for testing, and to make the installation go a bit smoother. You should remove them before moving into a production environment. Remove anonymous users? [Y/n] y ... Success! Normally, root should only be allowed to connect from 'localhost'. This ensures that someone cannot guess at the root password from the network. Disallow root login remotely? [Y/n] y ... Success! By default, MariaDB comes with a database named 'test' that anyone can access. This is also intended only for testing, and should be removed before moving into a production environment. Remove test database and access to it? [Y/n] y - Dropping test database...... Success! - Removing privileges on test database...... Success! Reloading the privilege tables will ensure that all changes made so far will take effect immediately. Reload privilege tables now? [Y/n] y ... Success! Cleaning up... All done! If you've completed all of the above steps, your MariaDB installation should now be secure. Thanks for using MariaDB! - Login ke MariaDB Agar bisa login ke
phpMyAdminsudo mysqladmin -u root password 'passwordanda'untu keluar ketik
exit
Konfigurasi PHP
- Aktifkan module PHP7 untuk Apache
sudo a2enmod php7sudo systemctl restart apache2 - Bikin file
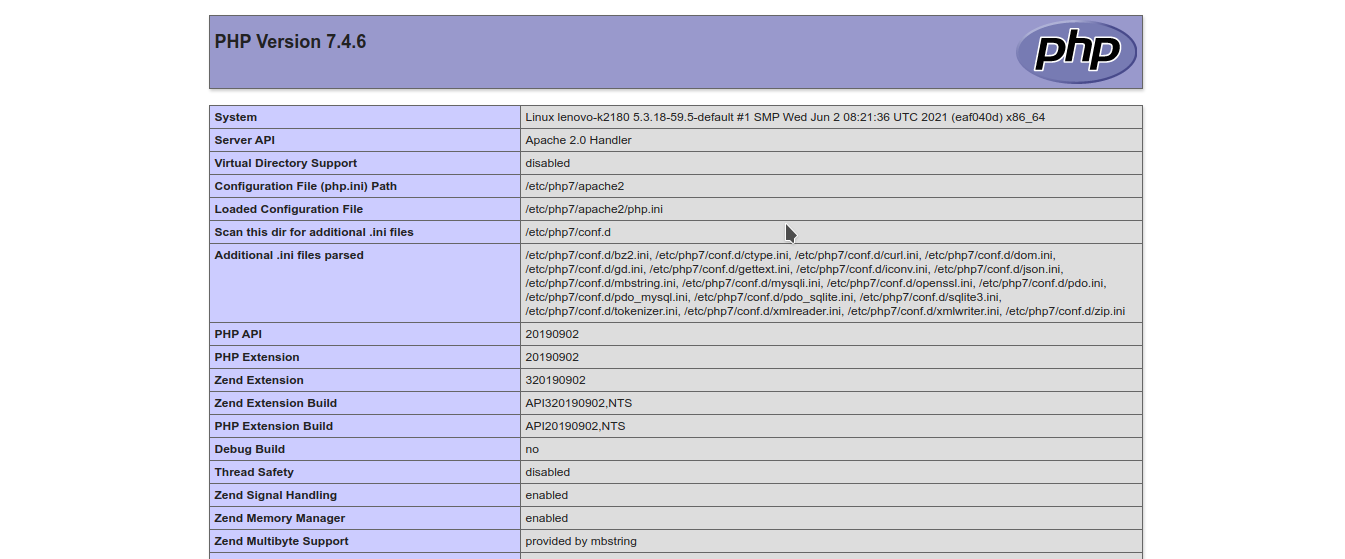
info.phpuntuk mengecek PHPsudo vim /srv/www/htdocs/info.php - Isi
info.phpdengan kode berikut<?php phpinfo(); ?> - Buka browser dan ketikan
localhost/info.php -
Hasil

Konfigurasi phpMyAdmin
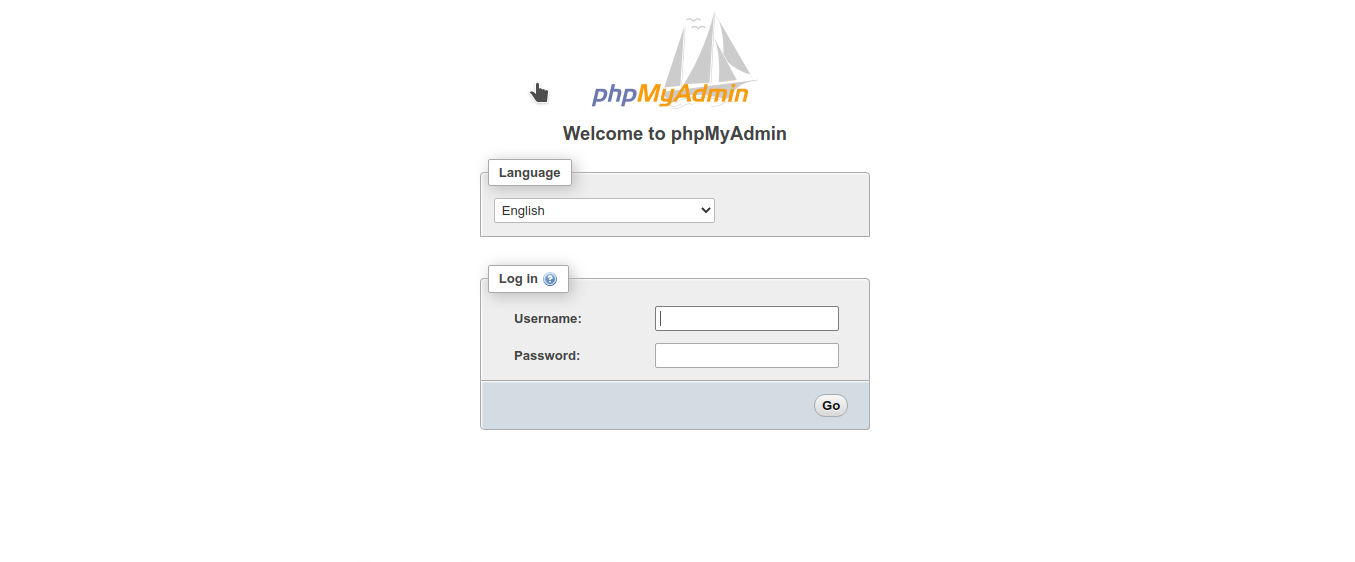
Buka phpmyadmin lewat browser (CASE SENSITIF !)
localhost/phpMyAdmin
hasil

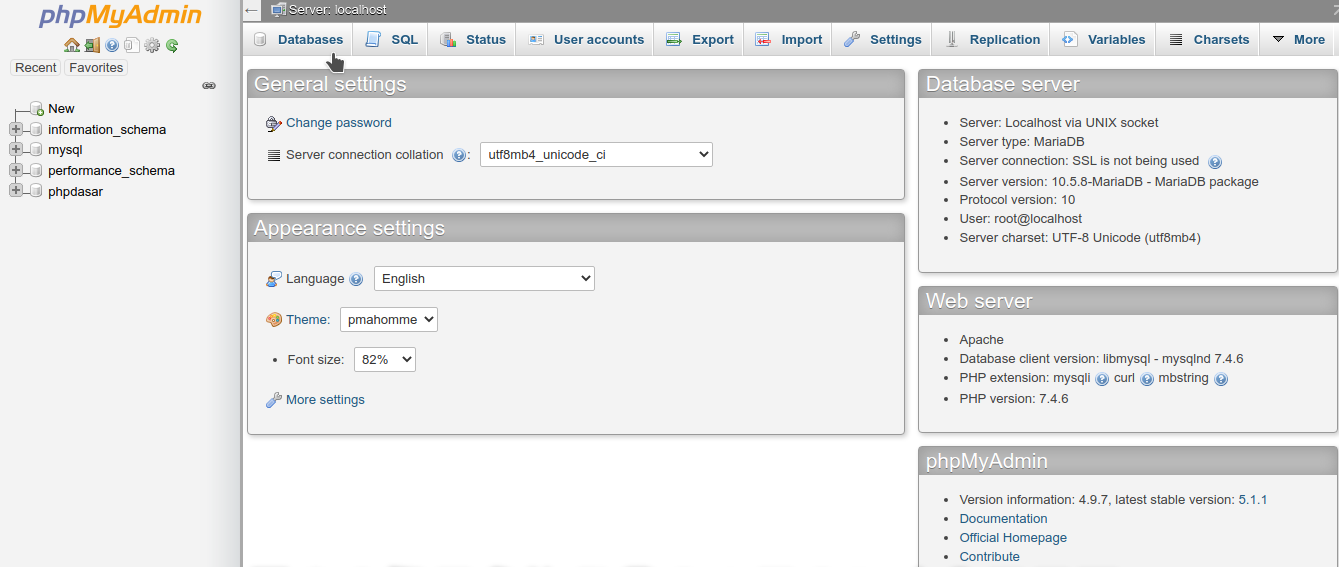
Kemudian login menggunakan akun yang sudah dibuat sebelumnya yaitu
username : root
password : passwordanda
